
Quick & Easy Recipes for Everyday Cooks
Welcome to Food By Ayaka!
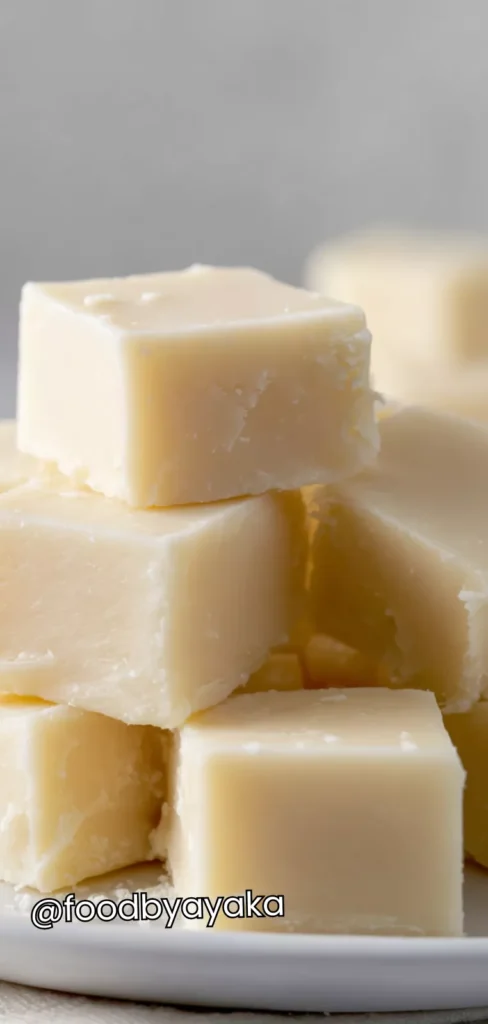
White Chocolate Fudge Recipe
My kids love helping me make fudge, and they enjoy stirring the melted chocolate mixture. But what makes this recipe extra special in my house is the little joy of sprinkling toppings. White chocolate fudge is one of those desserts that instantly brings comfort and smiles. In my kitchen, laughter fills the air as chocolate drips from tiny fingers, and everyone eagerly waits for the first taste. And the best part? Watching their eyes light up when they take the first bite of creamy, sweet fudge.
Its smooth, creamy texture and rich sweetness make it perfect for holidays, special occasions, or just a little indulgence any day of the week. Unlike dark chocolate, white chocolate fudge has a gentle, buttery flavor that pairs beautifully with nuts, dried fruits, or even a sprinkle of sea salt on top. It’s surprisingly easy to make at home, requiring only a few ingredients, and it can be ready in just a couple of hours, including chill time.
I have been making this white chocolate fudge for years, and I use high-quality white chocolate, sweetened condensed milk, and a little butter to ensure it’s perfectly creamy every time. Always make sure to melt the chocolate gently over low heat to avoid burning. I also like to line the pan with parchment paper so the fudge releases easily and keeps its beautiful shape.
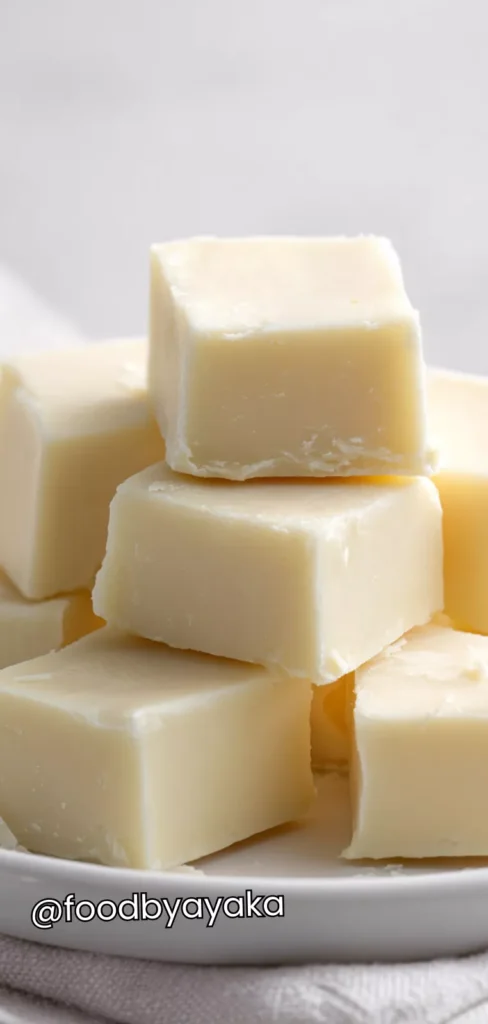
You can serve white chocolate fudge chilled, straight from the fridge, cut into neat little squares. I often place them on a small decorative plate and arrange them with a few chopped nuts or dried fruit on top. It makes the fudge look extra inviting, especially when serving guests.
I also enjoy presenting fudge as part of a dessert board with cookies, chocolates, and fresh fruit. The creamy texture of the fudge pairs wonderfully with crunchy cookies and tart fruits, giving a variety of flavors and textures on the same plate. It’s perfect for parties or casual afternoon snacks.
Its Perfect For:
- Holiday treats for family and friends
- Dessert tables at parties and gatherings
- Homemade gifts in cute jars or boxes
- Afternoon snacks with coffee or tea
- Celebrating birthdays, anniversaries, or special moments
Ingredients
- 12 oz white chocolate, chopped or chips
- 1 (14 oz) can sweetened condensed milk
- 2 tablespoons unsalted butter
- 1 teaspoon vanilla extract
- Pinch of salt
- Optional toppings: chopped nuts, dried fruit, or sprinkles
Kitchen Equipment You’ll Need
- Medium saucepan for melting chocolate
- Heatproof spatula for stirring
- Measuring cups and spoons
- 8×8-inch baking dish lined with parchment paper
- Sharp knife for cutting squares
- Mixing bowl
- Refrigerator for chilling
How to Make White Chocolate Fudge
Step 1
Prepare the pan: Line an 8×8-inch baking dish with parchment paper, leaving a slight overhang on the sides for easy removal. Lightly butter the parchment to ensure the fudge doesn’t stick.
Step 2
Melt the ingredients: In a medium saucepan over low heat, combine the white chocolate, sweetened condensed milk, and butter. Stir continuously with a heatproof spatula to prevent scorching. Take your time—this ensures the chocolate melts smoothly and the mixture becomes creamy without burning.
Step 3
Add flavoring: Once melted and fully combined, remove the pan from heat. Stir in vanilla extract and a pinch of salt. Taste carefully and adjust if you like a slightly sweeter or more balanced flavor.
Step 4
Optional mix-ins: If using nuts, dried fruit, or sprinkles, gently fold them into the mixture now. Be careful not to overmix, as it may cause the fudge to lose its creamy texture.
Step 5
Pour into the pan: Transfer the fudge mixture into the prepared baking dish, spreading it evenly with a spatula. Smooth the top to create a clean, professional finish.
Step 6
Chill: Refrigerate for at least 2 hours, or until the fudge is firm enough to cut cleanly. Avoid rushing this step; proper chilling is key for perfect texture.
Step 7
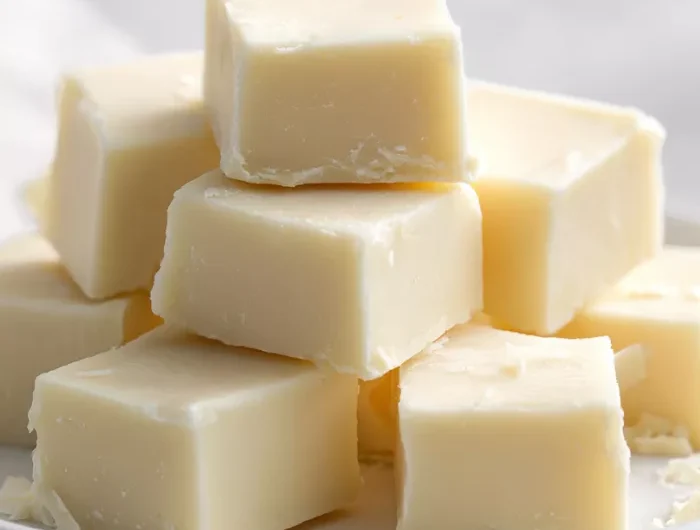
Slice and serve: Use a sharp knife to cut the fudge into small squares. For cleaner cuts, wipe the knife with a warm, damp cloth between slices. Serve chilled, and store any leftovers in an airtight container in the refrigerator for up to 2 weeks.
Tips for Best White Chocolate Fudge
- Melt chocolate slowly over low heat to prevent burning and keep it smooth.
- Stir continuously to combine chocolate and condensed milk into a creamy mixture.
- Line the baking pan with parchment and lightly butter it for easy removal.
- Add vanilla extract at the end to preserve its flavor and aroma.
- Chill the fudge for at least two hours to set fully before cutting.
- Use a sharp knife and wipe it with a warm damp cloth for clean slices.
- Store in an airtight container to maintain freshness and softness.
Optional Ingredients
- Chopped macadamia nuts for crunch
- Dried cranberries or cherries for tartness
- Sea salt for a sweet-salty contrast
- White chocolate chips for extra richness
- Coconut flakes for texture
- Sprinkles for a festive touch
How to serve White Chocolate Fudge?
I love to serve my white chocolate fudge chilled, straight from the fridge, cut into neat little squares. I often place them on a small decorative plate and arrange them with a few chopped nuts or dried fruit on top. It makes the fudge look extra inviting, especially when serving guests.
I also enjoy presenting fudge as part of a dessert board with cookies, chocolates, and fresh fruit. The creamy texture of the fudge pairs wonderfully with crunchy cookies and tart fruits, giving a variety of flavors and textures on the same plate. It’s perfect for parties or casual afternoon snacks.
Sometimes, I like to gift fudge in small glass jars or boxes. Each piece is wrapped in parchment or wax paper, which keeps it fresh and adds a beautiful homemade touch. It’s delightful to see friends and family enjoy it, and it makes every occasion feel special and thoughtful.
Is White Chocolate Fudge healthy?
White chocolate fudge is a sweet treat, and while it is delicious, it’s high in sugar and fat, so it should be enjoyed in moderation. That said, it can be part of a balanced diet if treated as an occasional indulgence.
Because it uses white chocolate and sweetened condensed milk, it’s not as nutrient-dense as some desserts, but the joy it brings and the ability to customize it with nuts or dried fruit can add a little extra value.
Variations and Substitutions
- Dark Chocolate Fudge: Swap white chocolate for dark chocolate for a rich, bittersweet flavor. Perfect for chocolate lovers who enjoy less sweetness.
- Peanut Butter White Chocolate Fudge: Add 1/4 cup peanut butter while melting the chocolate. Creates a creamy, nutty flavor that pairs well with chocolate chips.
- Nutty Fudge: Fold in 1/2 cup chopped walnuts, pecans, or macadamias. Adds crunch and texture to every bite.
- Fruit and Nut Fudge: Include chopped dried cranberries and almonds. Provides a balance of sweet, tart, and crunchy flavors.
- Coconut White Chocolate Fudge: Stir in 1/2 cup shredded coconut. Gives a tropical twist and adds slight chewiness.
- Spiced White Chocolate Fudge: Add 1/2 teaspoon cinnamon or pumpkin spice. Brings warmth and seasonal flair.
- Vegan White Chocolate Fudge: Use vegan white chocolate and coconut condensed milk. Keeps the recipe plant-based without sacrificing creaminess.
- Layered Fudge: Create layers of dark and white chocolate fudge. Makes it visually striking and adds complex flavor.
How to store, How to reheat
Store your white chocolate fudge in an airtight container in the refrigerator. This will keep it fresh and prevent it from drying out. If you want to enjoy it slightly softer, leave it at room temperature for 10–15 minutes before serving.
Reheating is simple if you want to serve it warm. Gently microwave individual squares in 10-second intervals, or place them in a small heatproof dish over warm water for a few minutes. Avoid high heat, as it can make the chocolate grainy.
Frequently Asked Questions About White Chocolate Fudge
Can I freeze white chocolate fudge?
Yes, fudge freezes very well if wrapped tightly in parchment paper and placed in a freezer-safe container. It can be stored for up to 2 months. Thaw overnight in the refrigerator before serving, and you can even slice it while still slightly chilled for easier handling.
Can I make fudge without sweetened condensed milk?
You can substitute with evaporated milk and sugar, but it will change the texture. Sweetened condensed milk is key for creamy, smooth fudge. Without it, the fudge may be less soft and slightly grainy. Always stir well if using a substitute to prevent lumps.
Can I add flavors like coffee, peppermint, or almond?
Absolutely! Adding a teaspoon of extract while the chocolate mixture is still warm gives the fudge a gentle, infused flavor. You can also mix in finely grated zest from citrus fruits for a fresh twist. Experimenting with flavors lets you create unique versions for every occasion.
How long does fudge last, and how should I store it?
Fudge keeps for up to 2 weeks in the refrigerator if stored in an airtight container. It may soften slightly at room temperature, so keeping it cool ensures it maintains its texture. For longer storage, you can freeze it for up to 2 months, and it will thaw beautifully.
White Chocolate Fudge Recipe
Course: DessertCuisine: AmericanDifficulty: EasyServings
12
servingsPrep time
10
minutesCooking time
10
minutesChilling time
2
hoursWhite chocolate fudge is a simple yet elegant treat that’s perfect for any occasion. With its creamy texture, versatile flavor options, and ability to pair with nuts, fruits, or other chocolates, it’s a dessert you’ll want to make again and again.
Ingredients
12 oz white chocolate, chopped or chips
1 (14 oz) can sweetened condensed milk
2 tablespoons unsalted butter
1 teaspoon vanilla extract
Pinch of salt
Optional toppings: chopped nuts, dried fruit, or sprinkles
Directions
- Prepare the pan: Line an 8×8-inch baking dish with parchment paper, leaving a slight overhang on the sides for easy removal. Lightly butter the parchment to ensure the fudge doesn’t stick.
- Melt the ingredients: In a medium saucepan over low heat, combine the white chocolate, sweetened condensed milk, and butter. Stir continuously with a heatproof spatula to prevent scorching. Take your time—this ensures the chocolate melts smoothly and the mixture becomes creamy without burning.
- Add flavoring: Once melted and fully combined, remove the pan from heat. Stir in vanilla extract and a pinch of salt. Taste carefully and adjust if you like a slightly sweeter or more balanced flavor.
- Optional mix-ins: If using nuts, dried fruit, or sprinkles, gently fold them into the mixture now. Be careful not to overmix, as it may cause the fudge to lose its creamy texture.
- Pour into the pan: Transfer the fudge mixture into the prepared baking dish, spreading it evenly with a spatula. Smooth the top to create a clean, professional finish.
- Chill: Refrigerate for at least 2 hours, or until the fudge is firm enough to cut cleanly. Avoid rushing this step; proper chilling is key for perfect texture.
- Slice and serve: Use a sharp knife to cut the fudge into small squares. For cleaner cuts, wipe the knife with a warm, damp cloth between slices. Serve chilled, and store any leftovers in an airtight container in the refrigerator for up to 2 weeks.