
Quick & Easy Recipes for Everyday Cooks
Welcome to Food By Ayaka!
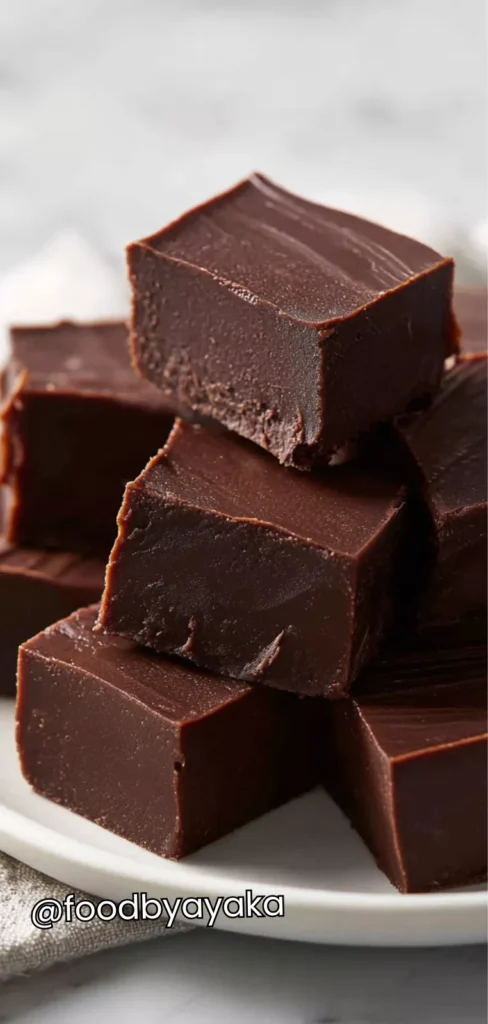
Dark Chocolate Fudge Recipe
Making this fudge is simple but rewarding. You don’t need fancy equipment or complicated ingredients to create something truly special. It’s smooth, glossy, and intensely chocolatey, and with just a few small steps, you can have a dessert that looks like it came from a gourmet bakery. Dark chocolate fudge is one of those desserts that instantly feels like a warm hug. Rich, creamy, and deeply chocolatey, this treat melts in your mouth and leaves a lingering sense of pure indulgence.
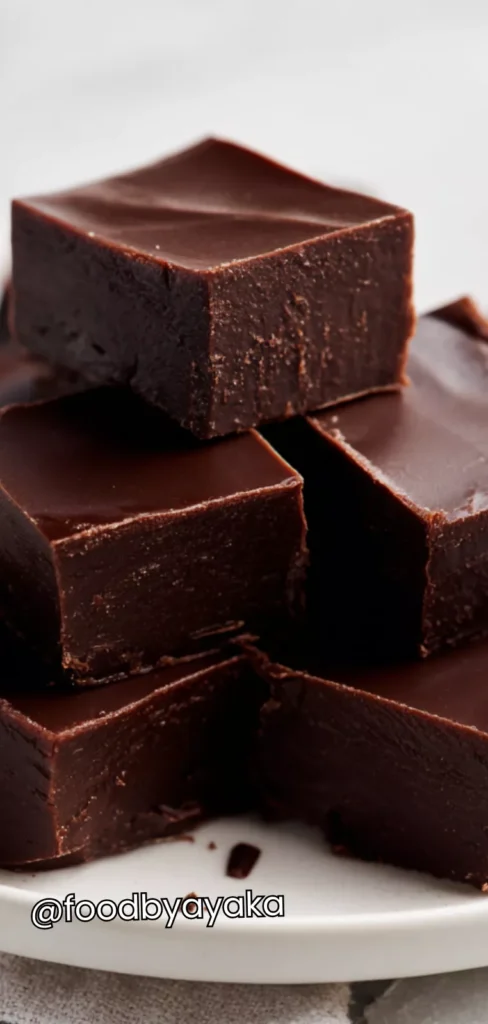
Making these rich squares of fudge is easier than it looks, but the secret is in the technique. In a saucepan over low heat, gently melt the dark chocolate with sweetened condensed milk. Stir slowly and consistently to avoid burning, and keep your ingredients fresh and high-quality. The butter and vanilla extract add a silky texture and enhance the chocolate flavor, making each bite smooth, decadent, and irresistible.
I have learned over the years that the best fudge comes from patience. I use dark chocolate with at least 60% cocoa content, sweetened condensed milk, and real butter. Always make sure to stir slowly and evenly while melting to prevent lumps and ensure a glossy finish. The simplicity of these ingredients is the key, but the careful attention to melting and mixing makes the fudge exceptional.
You can serve dark chocolate fudge in many ways. Some enjoy it plain as small squares, also with a sprinkling of sea salt or chopped nuts for texture. It pairs beautifully with hot coffee, tea, or even a glass of red wine. You can layer it in a dessert platter with fruit or cookies, and it also works as a luxurious gift when wrapped in parchment paper with a ribbon.
It’s Perfect For:
- Holiday gatherings, like Christmas or Thanksgiving
- Birthday parties for both kids and adults
- Afternoon tea or coffee indulgences
- Quick homemade gifts for friends and family
- Cozy nights in when you need a little chocolate comfort
Ingredients
- 2 cups (12 oz) dark chocolate, chopped or in chips
- 1 can (14 oz) sweetened condensed milk
- 2 tablespoons unsalted butter
- 1 teaspoon pure vanilla extract
- 1/4 teaspoon salt
- Optional toppings: chopped nuts, sea salt flakes, or chocolate shavings
Kitchen Equipment You’ll Need
- Medium saucepan for melting chocolate
- Heatproof spatula for stirring
- 8×8-inch baking pan lined with parchment paper
- Sharp knife for cutting fudge
- Measuring cups and spoons for precise ingredient amounts
- Small mixing bowl for optional toppings
- Refrigerator for chilling the fudge
How to Make Dark Chocolate Fudge
Step 1
Prepare your pan: Line an 8×8-inch baking pan with parchment paper, leaving extra hanging over the edges for easy removal later. Lightly grease the parchment with a small amount of butter to prevent sticking.
Step 2
Melt the chocolate: In a medium saucepan over low heat, combine the chopped dark chocolate and sweetened condensed milk. Stir constantly with a heatproof spatula to ensure the chocolate melts evenly and does not scorch. Once the mixture is smooth and glossy, remove from heat.
Step 3
Add flavor and richness: Stir in the butter, vanilla extract, and salt until fully incorporated. The butter adds extra creaminess, while the vanilla enhances the chocolate depth. If using optional nuts or toppings, fold them in now for an even distribution.
Step 4
Pour into pan: Carefully pour the warm fudge mixture into the prepared pan, spreading it evenly with a spatula. Smooth the top as much as possible for a clean, professional look. If desired, sprinkle extra toppings on the surface for decoration.
Step 5
Chill to set: Place the pan in the refrigerator and chill for at least 2 hours, or until the fudge is firm to the touch. For faster setting, you can briefly place it in the freezer for 30–40 minutes, but avoid freezing for too long as it may become too hard.
Step 6
Cut and serve: Lift the fudge out of the pan using the parchment overhang. Place on a cutting board and slice into squares or rectangles using a sharp knife. For clean cuts, wipe the knife with a warm damp cloth between slices. Serve at room temperature for the perfect balance of firmness and melt-in-your-mouth texture.
Tips for Perfect Dark Chocolate Fudge
- Use good-quality chocolate. Cheap chocolate can be gritty, so I always choose high cocoa content. It makes a huge difference in flavor.
- Stir constantly while melting. Chocolate can burn easily, so slow, even stirring ensures smooth texture.
- Line your pan with parchment paper. It makes removing fudge easier and keeps the edges neat.
- Chill for at least 2 hours. Patience is key; cutting fudge too soon can make it crumble.
- Optional toppings add flavor. Sea salt, nuts, or chocolate shavings enhance both taste and presentation.
- Avoid water in the chocolate. Even a tiny drop can make chocolate seize, so keep everything dry.
- Use a sharp knife for cutting. Wipe the blade between slices to get clean, professional-looking squares.
Optional Ingredients
- Chopped walnuts or pecans for crunch
- Sea salt flakes for a salted chocolate twist
- White chocolate drizzle for contrast
- Dried cranberries for tartness
- Espresso powder for a mocha flavor
- Orange zest for a citrusy note
How to Serve Dark Chocolate Fudge?
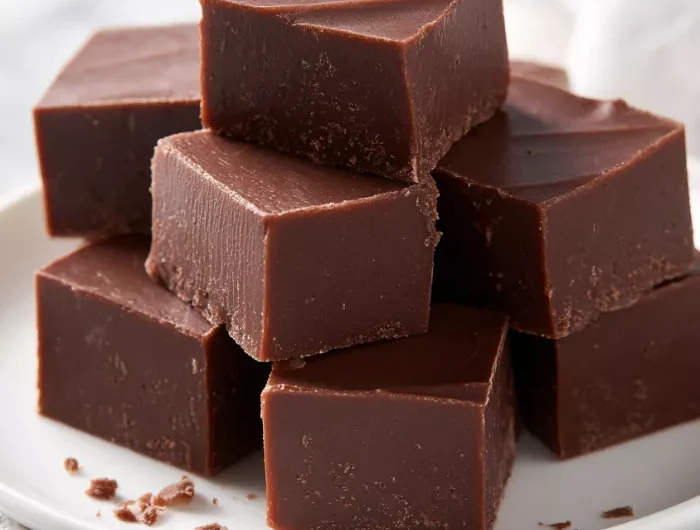
I love serving fudge in neat squares, and it’s easy to create an attractive display on a platter or in small cupcake liners. Guests can grab a piece without making a mess, and it always looks inviting. Presentation matters, even for simple homemade fudge.
I sometimes add extra melted chocolate or sprinkle a pinch of sea salt on top just before serving. It makes the fudge even more decadent and visually appealing. You can also layer it with dried fruit, nuts, or even edible glitter for a festive look.
I also enjoy pairing fudge with drinks. A cup of coffee or tea balances the richness, while red wine or dessert cocktails make it feel sophisticated. For special occasions, I might serve it alongside cookies, berries, or a light fruit compote to create a luxurious dessert spread.
Is Dark Chocolate Fudge Healthy?
Dark chocolate fudge is indulgent, but dark chocolate itself contains antioxidants and minerals like magnesium. Enjoying a small square can satisfy your sweet tooth without overdoing sugar.
However, fudge is rich and sweet, so moderation is important. Treat it as an occasional luxury rather than an everyday snack, and savor each bite mindfully.
Variations and Substitutions
- Milk Chocolate Fudge: Replace dark chocolate with milk chocolate for a sweeter, creamier version that kids love. Use the same method for melting and chilling.
- Peanut Butter Swirl Fudge: Add dollops of peanut butter on top of the chocolate mixture and swirl before chilling. It adds a nutty, rich flavor.
- Mint Chocolate Fudge: Stir in 1 teaspoon of peppermint extract for a refreshing, festive twist. Garnish with crushed candy canes if desired.
- Nutty Fudge: Fold in chopped walnuts, pecans, or almonds to add crunch and texture to the creamy base.
- Espresso Fudge: Add a teaspoon of espresso powder to the melted chocolate mixture. The coffee flavor enhances the deep chocolate taste.
- Coconut Fudge: Fold in shredded coconut or coconut flakes before chilling. It adds a tropical note and extra texture.
- Orange Chocolate Fudge: Stir in 1 teaspoon of orange zest to brighten the chocolate flavor with citrusy freshness.
- Vegan Fudge: Use coconut cream and dairy-free chocolate for a vegan-friendly alternative. Chill as usual until firm.
How to Store, How to Reheat
Store your fudge in an airtight container in the refrigerator for up to 2 weeks. Keep parchment paper between layers to prevent sticking. Room temperature is fine for short periods, but refrigeration ensures it stays firm and easy to cut.
To enjoy slightly softer fudge, remove it from the fridge 10–15 minutes before serving. You can also warm it gently in the microwave in 5-second intervals to achieve a creamy, melt-in-your-mouth texture without compromising its structure.
Frequently Asked Questions About Dark Chocolate Fudge
Can I use chocolate chips instead of a bar?
Yes, chocolate chips are perfect for fudge. Just choose a high-quality variety with at least 60% cocoa. Stir constantly while melting to get a smooth, glossy finish. Chips might hold their shape longer, so patience is key.
Can I freeze dark chocolate fudge?
Absolutely! Wrap it tightly in parchment paper and foil, then freeze for up to 2 months. When ready to enjoy, thaw in the fridge overnight. This prevents condensation from forming and keeps your fudge firm and shiny.
Can I make fudge without sweetened condensed milk?
You can, using evaporated milk and sugar as a substitute, but the texture may not be as creamy. Sweetened condensed milk gives fudge its classic dense, silky consistency. Stir slowly to avoid lumps if using alternatives.
Can I make this fudge dairy-free?
Yes! Coconut cream and dairy-free chocolate make a delicious vegan version. Chill it the same way as traditional fudge. You can also add plant-based butter for extra creaminess and flavor.
Dark Chocolate Fudge Recipe
Course: DessertCuisine: AmericanDifficulty: EasyServings
12
servingsPrep time
10
minutesCooking time
15
minutesChilling time
2
hoursIndulge in rich, creamy Dark Chocolate Fudge! Learn how to make this easy, decadent dessert with simple ingredients, tips, variations, and serving ideas. Perfect for holidays, gifts, or cozy treats.
Ingredients
2 cups (12 oz) dark chocolate, chopped or in chips
1 can (14 oz) sweetened condensed milk
2 tablespoons unsalted butter
1 teaspoon pure vanilla extract
1/4 teaspoon salt
Optional toppings: chopped nuts, sea salt flakes, or chocolate shavings
Directions
- Prepare your pan: Line an 8×8-inch baking pan with parchment paper, leaving extra hanging over the edges for easy removal later. Lightly grease the parchment with a small amount of butter to prevent sticking.
- Melt the chocolate: In a medium saucepan over low heat, combine the chopped dark chocolate and sweetened condensed milk. Stir constantly with a heatproof spatula to ensure the chocolate melts evenly and does not scorch. Once the mixture is smooth and glossy, remove from heat.
- Add flavor and richness: Stir in the butter, vanilla extract, and salt until fully incorporated. The butter adds extra creaminess, while the vanilla enhances the chocolate depth. If using optional nuts or toppings, fold them in now for an even distribution.
- Pour into pan: Carefully pour the warm fudge mixture into the prepared pan, spreading it evenly with a spatula. Smooth the top as much as possible for a clean, professional look. If desired, sprinkle extra toppings on the surface for decoration.
- Chill to set: Place the pan in the refrigerator and chill for at least 2 hours, or until the fudge is firm to the touch. For faster setting, you can briefly place it in the freezer for 30–40 minutes, but avoid freezing for too long as it may become too hard.
- Cut and serve: Lift the fudge out of the pan using the parchment overhang. Place on a cutting board and slice into squares or rectangles using a sharp knife. For clean cuts, wipe the knife with a warm damp cloth between slices. Serve at room temperature for the perfect balance of firmness and melt-in-your-mouth texture.